


|
See more recent history: 2014 to 2011 ^^^ | 2010 |
|
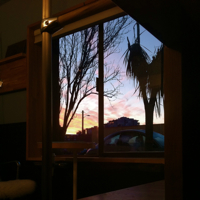
A nice sunrise out the window for the last morning of 2010! | 2010 |
|
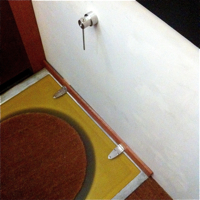
Hinges for the tub lid, and a rather odd, but functional lathe-turned aluminum latch to hold the lid open. | 2010 |
|
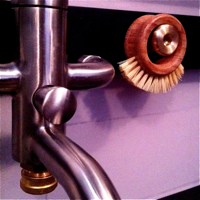
An hour spent getting to know a piece of brass yields a peg for my sink brush. | 2010 |
|
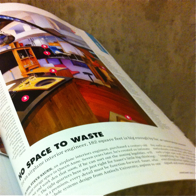
The Seattle Met magazine print and online articles are out - Cari alerted me via Facebook - cool! Thanks Chris! | 2010 |
|
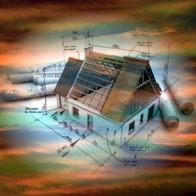
I'm starting into the process to legalize it! With quite a bit of good fortune and help from the DPD, I will get there. To start with, there are mysteries to uncover about how the Avalon basement is zoned, and... | 2010 |
|
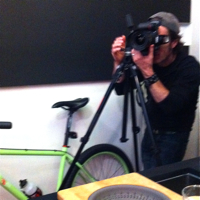
Another photo shoot for an upcoming article. Thanks Will! | 2010 |
|
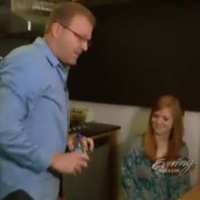
The King 5 TV Evening Magazine piece aired on Monday, 22 November; A bit embarrassing to us, but good fun! Thank you Meeghan! | 2010 |
|
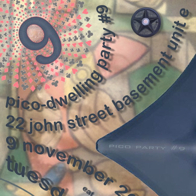
And pico-party-9, 9 November 2010, 14 guests in at the peak! Mingle-merriment and hair on fire! Thanks for coming! | 2010 |

|
The second (and better:) iteration of the hand-shower bar and wall stanchions made from stainless bolts, collars, and laser-cut plates. (An earlier installation used boat-part stanchions). | 2010 |
|
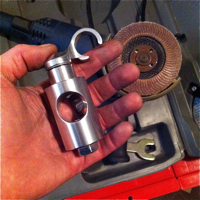
Dirty paw yields completed shiny object that will clamp the handshower to a vertical rail. | 2010 |
|
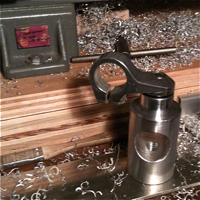
More lathe work, this time with aluminum, and a bike shift-lever part for a start on a hand-shower holder. | 2010 |
|
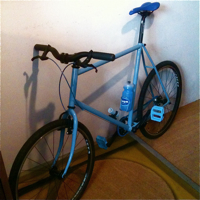
Single-speed "Blue Bardot", formulated specifically for the pico-dwelling. I built this from an old Ritchey frame with a rear U-brake (my favorite!). | 2010 |
|
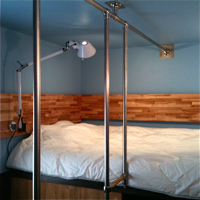
Bed1 seemed not to be appealing to the press - that unmade look, I presume. Cleaned up with an Ikea duvet. Mattress with a latex insert, twin width plus a 10" diameter bolster along the wall. | 2010 |
|
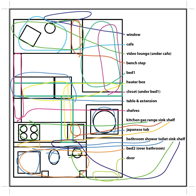
I have received requests for a plan view, and this is a plan view, kind-of, annotated (click for big). | 2010 |
|
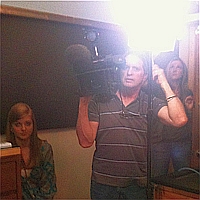
More emergent publicity, this time with Zoë, for November release. King 5 TV Evening Magazine! Thanks Kim and Tom! | 2010 |
|
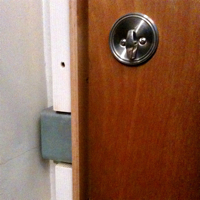
A start on framing the doorway for security, potential wire-routing, and to clean up the appearance. | 2010 |
|
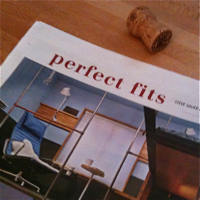
Uncorked a celebration of the Seattle Times, Pacific Northwest magazine article. Thanks Rebecca and Ben! And thank you Enrico for getting it started! |
2010 |
|
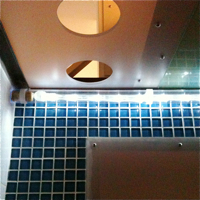
And an LED light string in the tube - the left end plugged with a Belgian beer cork. | 2010 |
|
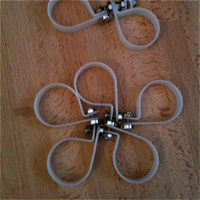
Nylon P-clamps and rare-earth magnets to hold a polycarbonate tube to the bathroom ceiling for lighting... | 2010 |
|
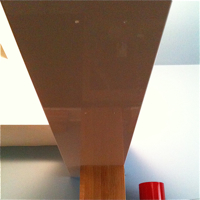
White powder-coated A-569 steel panels to cover the bottom of the heater box. | 2010 |
|
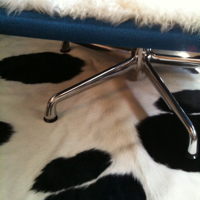
The place is getting furrier with a cowhide rug on the deck. | 2010 |
|
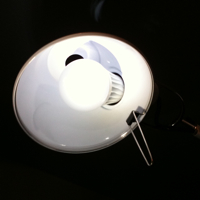
With the recent Home Depot price breakthrough on LED bulbs - LED bulbs to replace two CFL blubs. | 2010 |
|
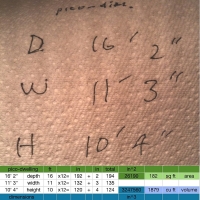
An update of depth, width, and height measurements reveals: 182 square feet of area, and 1879 cubic feet of volume. | 2010 |
|
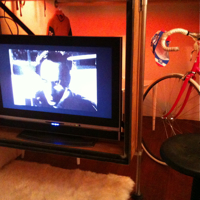
The video lounge view, with "Pi". Hot pink Eddy and signed Molteni. | 2010 |
|
Distracted by bicycles and things while I gather up resources for the next push. | 2010 |

|
This is a likely direction for the steps - white powder-coated steel to match the heater box panels. | 2010 |
|
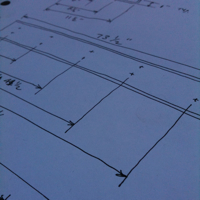
Sketch for steel panels for the bottom of the overhead heater box. | 2010 |
|
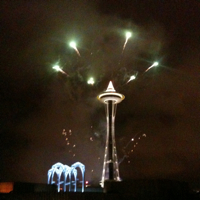
Twenty-ten! | 2010 |
|
And picoparty8 went off well with a moving count of around ten guests at a time. Much fun! And Mark is a regular. | 2009 |
|
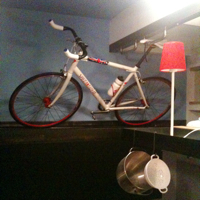
The Langster London trying out the bike storage area in a temporary way. Seat hooked on a pull-up bar. | 2009 |
|
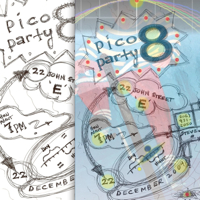
Winter Solstice, picoparty8, coincidence? I think not. | 2009 |
|
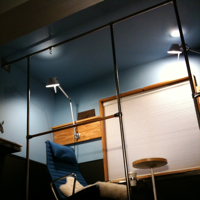
I finally captured stainless clamp fittings for horizontal railings for the 'tiger cage', and used poplar-wood horizontal rails to soften the look. Piet Mondrian? | 2009 |
|
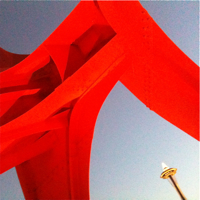
Something different: A sunrise walk to the pico-dwelling, through the Seattle Art Museum Sculpture Park. Calder's Eagle and the Needle. Waiting for parts in the mail. | 2009 |
|
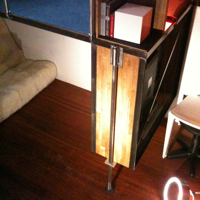
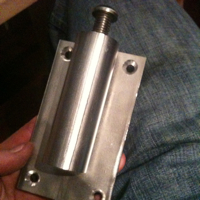
The deck-jack stair-hinge is installed! It ensures that the cantilevered deck doesn't flex under load, and will support stair steps. | 2009 |
|
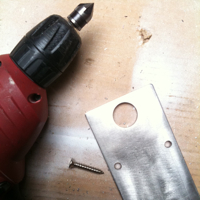
Just a countersinking of the screws remains for the deck jack lower plate. | 2009 |
|
The next stainless steel piece - a screw-jack for the deck, and to set up for some stairs to the deck. Again, much hard hand-work to push the steel toward my will. | 2009 |
|
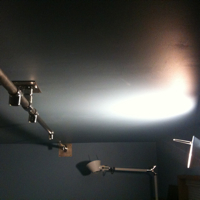
Header for railings for the the climb up and down. A few more pieces to go - solid stainless bar and boat fittings. | 2009 |
|
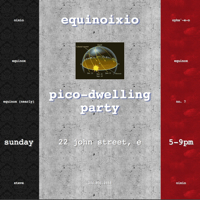
'Twas pico-party-7, near the autumnal equinox, and it was fun! Thanks for coming! | 2009 |
|
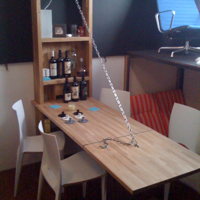
The table has been in for a while, but here's a clearer picture with the leaf extended. | 2009 |
|
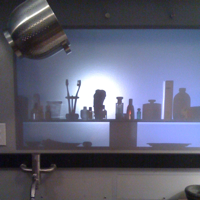
My LED flashlight shines through the translucent panel from kitchen to bathroom. | 2009 |
|
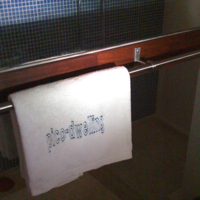
The towel bar fittings are complete and installed! Certainly one of the more perilous tasks; stainless steel is an unforgiving material to cut and drill, and my hands show the battle! The bar is 1" of solid stainless. | 2009 |

|
More heavy lifting on the towel bar fittings at Andrew's shop: Drilling, tapping, grinding, polishing, swearing. | 2009 |
|
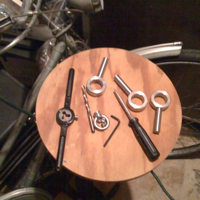
And the three partially-finished parts. Need the base plates now. | 2009 |
|
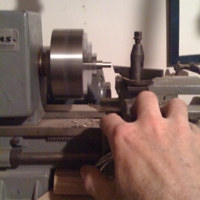
The price for custom towel bar parts drove me to make my own. The Atlas lathe to the rescue to cobble together some stand-offs for the towel bar. | 2009 |
|
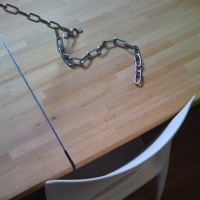
I found some stainless steel chain to support the table extension. Now I can seat six, and now there's a nice bit of dungeon aesthetic. | 2009 |
|
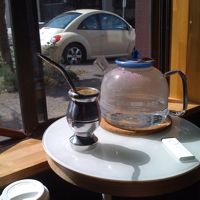
Taking a very special yerba maté break - I've added a window sill board and a table. | 2009 |
|
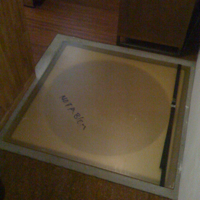
An inch of translucent 3form Chroma material over the tub; rub-a-dub-dub, nobody in the tub. | 2009 |
|
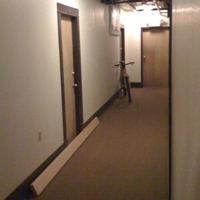
Eleven foot clear fir 2x6 for the final bed1 surround - bike transport from Blackstock Lumber. I remember when this nice, clear fir wood was inexpensive... | 2009 |
|
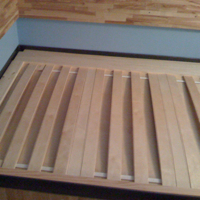
Bed1 frame reworked to near-completion - comfortable last night (there was a mattress and whatnot on top)! | 2009 |
|
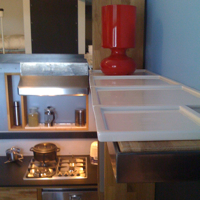
Working on shelves for dish storage. The first set of dishes will become shelf liners for the second set of better ones of simple white bone china. | 2009 |

|
A second Tolomeo wall light for the lounge chair spot. A compact florescent bulb will become an LED bulb one day (I don't like compact fluorescent bulbs). | 2009 |
|
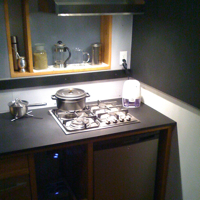
I found the right refrigerator that fits perfectly, is of good quality, and is quiet. The room humidity is way up at ~57-60%, so I'm experimenting with a little dehumidifier... | 2009 |
|
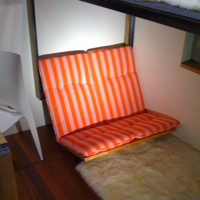
The bench seat for the video lounge is starting to happen. I changed the dining chairs a while back from black glossy to white matte to bring some more light. DWR, Christa, again. | 2009 |
|
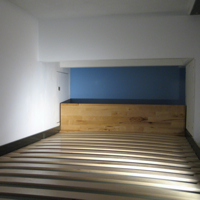
Bed2 frame for Zoe is complete with spacer blocks and arched slats and a mattress stop. | 2009 |
|
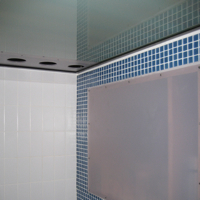
A tempered, frosted, 3/8" glass table top is now the bathroom ceiling, and a 5-port vent panel made from a scrap of 3form. | 2009 |
|
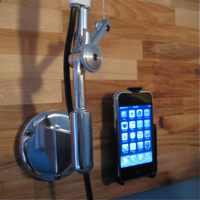
One of two Tolomeo reading lamps and an iPhone bracket for bed1. | 2009 |
|
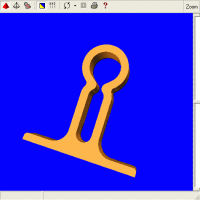
I modeled the next iteration using eMachineShop's CAD tool. This design allows for a clamping bolt. | 2009 |
|
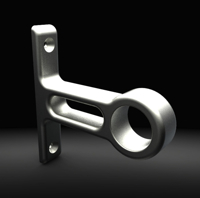
Next I need some brackets for towel bars and railings and such - of one inch diameter stainless steel bar. I sketched this widget, and Kevin turned it to a 3D model in minutes. | 2009 |
|
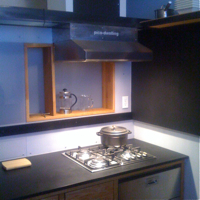
The kitchen/bathroom barrier is complete, the countertop is finished and sealed with Paperstone oil/wax. And the first real dinner party for four! 30Mar09: Guacamole and chips, dutch oven chicken with thyme, parsley, carrots, brussels sprouts, and a cucumber salad. | 2009 |
|
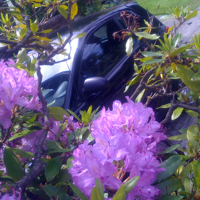
Smart fortwo passion coupe! And I was able to carry a pile of cut 2x4s in it already. | 2009 |

|
The iPhone is starting to influence the design, as it embodies a lot of things that might have been discrete objects - phone, books, radio, clock/timer/alarm, camera, remote control, maps,...! | 2009 |
|
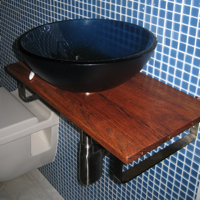
The bathroom sink has finally come together, using more of the floor wood as a deck, Ikea shelf brackets, a glass vessel sink, and satin-finish pipery. | 2009 |
|
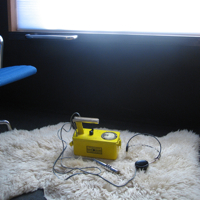
And into 2009... I did a quick scan around the building for radiation (Paul's 'geiger counter') - all clean! Western Washington has very low levels of radon gas: "Levels less than 4 picocuries radon per liter of air". | 2009 |
|
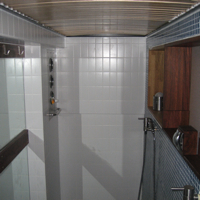
Bathroom trim installed. The opening between the kitchen and bathroom is covered by white translucent 3form Varia material. | 2008 |
|
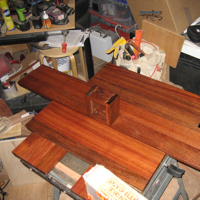
Making bathroom trim from extra hardwood flooring. Cut, glue, clamp, sand, cut, glue, sand, oil, assemble. | 2008 |
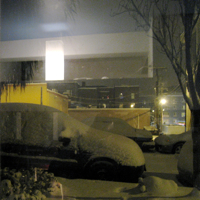
|
Here's a view in/out the window to the snowy outdoors. Another couple of inches accumulated during the party. | 2008 |
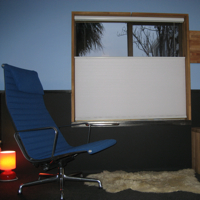
|
Eames chair on the deck with the snow behind the window shade. | 2008 |
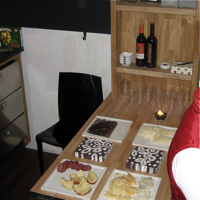
|
Heavy snow toned down pico-party-6 a bit, but some guests did arrive, and the party went on! Thanks Leanna, for this and everything else! | 2008 |
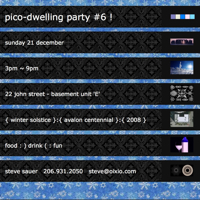
|
The Winter Solstice in the Centennial year of the Avalon Building was the date for pico-party-6! | 2008 |
|
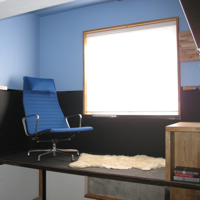
For the 100-year anniversary of the Avalon building, a 50-year anniversary Eames Aluminum Group Lounge with fabric: m | a | h | a | r | a | m :: Messenger :: Nile. | 2008 |
|
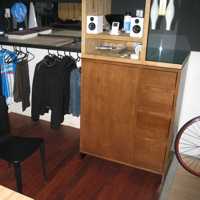
A mini armoir from West Elm exactly fits under the shelf! Closet improvements, a bed surround board, a window shade (see in next image). | 2008 |
|
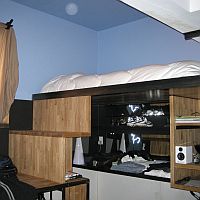
The bed is in above the closet area. There is much more to do, but everything works just well enough, and it is very peaceful. | 2008 |
|
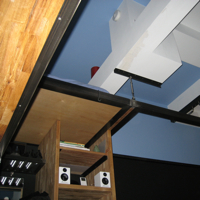
A low-angle shot of the heater box. The hard-wired, battery-backup smoke detector is installed and working. Music experimentation... | 2008 |
|
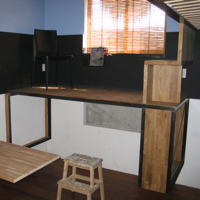
Under the cafe deck is the video 'room' - to be a bench seat for two and a flat panel in the hanging box. Five rounds of my sketches were turned into steel frames by Nick. | 2008 |
|
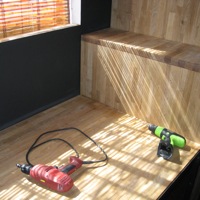
The cafe deck in the window will support chair and a table, and the step up to the bed platform is sized to serve as a chair as well. Under this deck is the 'living room' where a lounge seat and video will be. | 2008 |
|
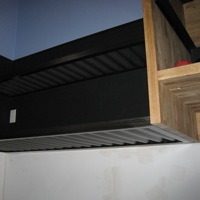
The clothes rail will be under the lower shelf in the closet area. The lower shelf also serves as a stand-up work area. The upper shelf will work well for shoes and folded clothes. | 2008 |
|
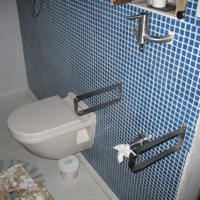
The bathroom wet-wall is tiled with blue glass tile, and the other walls are tiled with white subway tile. The floor is concrete, and has a rim around the edge for floor planks. The sink counter frames are visible, with the sink faucet and sink drain. | 2008 |
|
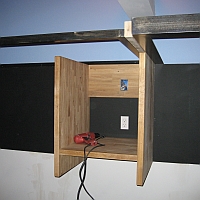
I've started the framing for the elevated decks and more built-in, structural furniture. This cabinet will hold entertainment electronics, and below and to right, probably shelves and a mirror. | 2008 |
|
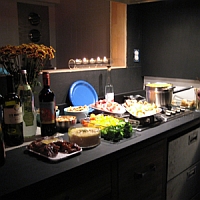
And... progress party number 4 (really the fifth), with fondue warmed on the stove, and cold things from the refrigerator. | 2007 |
|
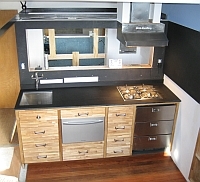
The kitchen is fully functional, but still not quite finished. The upper walls are painted, and the mid-wall band is painted with blackboard paint. Joel helped me to get an early piece of EcoTop for the countertop - very nice material! | 2007 |
|
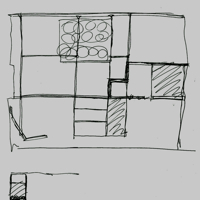
A sketch of the cafe level, bed level, and video lounge seat. View towards the window wall. | 2007 |
|
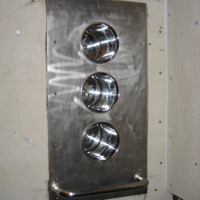
A laser-cut stainless plate, a stainless door handle, and 3 kitchen utensil cups makes my soap holder for the shower. | 2007 |
|
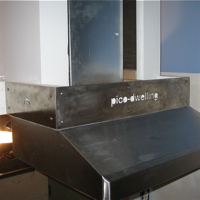
My first round of laser-cut stainless steel is installed as range hood trim, with a fermata ͒sustain͒ symbol, "pico-dwelling", and "oixio" on the right side. | 2007 |
|
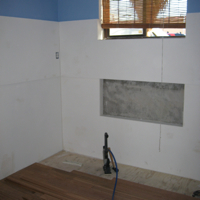
Matt has the Brazilian hardwood (sustainably harvested) floor on the way in, over the top of new floor joists and concrete fill, a vapor barrier, and an inch of plywood subfloor. The concrete wall panel was poured in place, and backs a compartment for drop-down window-cover panels. | 2007 |
|
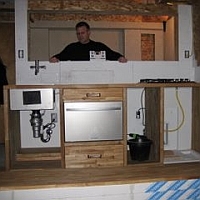
The kitchen is coming together, built from oak butcher-block, to include the gas range, the sink, and the dish drawer. I used Ikea hardwood shelving for drawer boxes, a table-top for drawer fronts, countertop planks for framing, and heavy duty drawer glides. | 2007 |
|
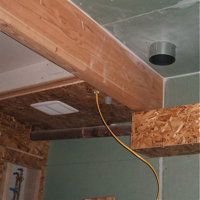
I enlarged the vent duct for the range hood to 6" in diameter. The brown pipe over the shower is part of the steam pipe system, and I can blow heat from the pipe into the bathroom as needed. | 2007 |
|
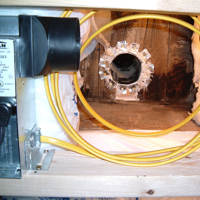
A shower ventilation fan is in place with a duct port to the main vent stack, which exhausts at the roof of the building. | 2007 |
|
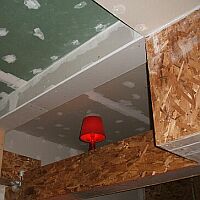
Sheetrock went up over the ceiling and some intrusions by parts of the steam pipe system. The lamp is on one of two outlets that are controlled by a light switch at the entry door. | 2007 |
|
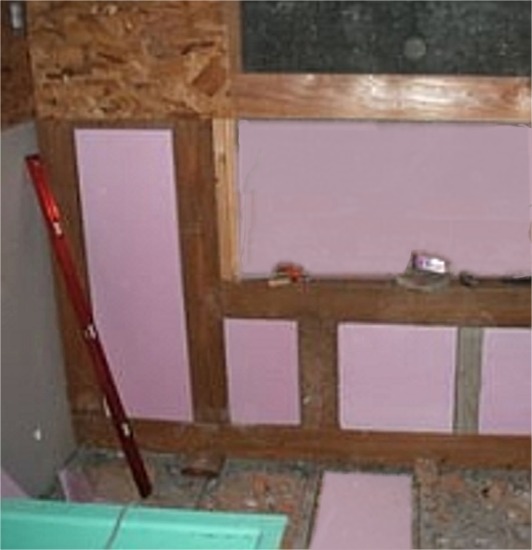
Outer wall framing replaced with treated wood with added rigid foam insulation. | 2007 |
|
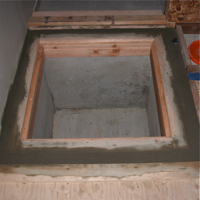
About one hundred 40-pound bags of concrete carried, mixed, and poured - some with Giorgio. The last pour of the tub-box is setting. | 2006 |
|
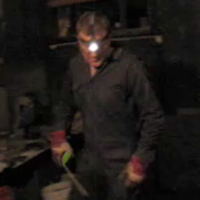
A frame from Clifford's video while I was positioning the tub-box form before pours for the walls. Working with the miner's light and a tape measure. | 2006 |
|
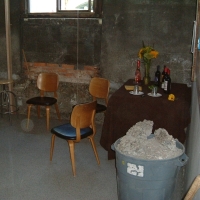
A third progress party ensued, replete with trash bins full of broken concrete. | 2006 |
|
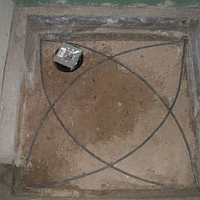
It seemed that the rebar support in the base of the shower needed to have some symbolic power... | 2006 |
|
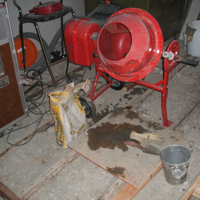
The magic machine that mixed it all up. | 2006 |
|
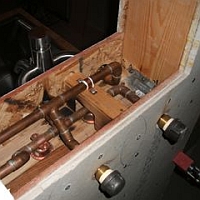
I used copper water supply pipe to supply the kitchen and bathroom fixtures. I lathe-turned some brass fittings to adapt the stainless steel faucets. Dad's Atlas 6" metal lathe serves well. | 2006 |
|
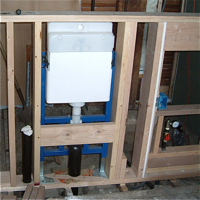
The wall-toilet tank frame; a peculiar contraption! A new gas pipe section is being monitored via pressure gage to ensure there is no leak. | 2006 |
|
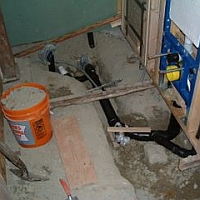
I added water drain and vent plumbing for a shower, and toilet, and two sinks. The plumbing and permitting took more than a year to complete, even with Tracy's help! | 2006 |
|
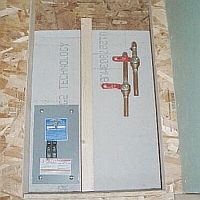
I removed the existing water supply plumbing, and added new shutoff valves for hot and cold water entering the unit, and framed the electrical panel and supply valves. | 2006 |
|
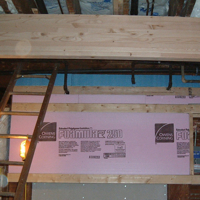
I rebuilt a box between the hallway and my bathroom, that houses my natural gas meter. Pink foam insulation over half-inch tilebacker fire-proofing. | 2005 |
|
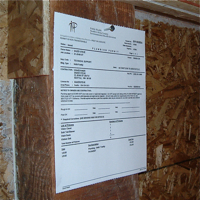
A plumbing permit to get started on the primary facilities preparation. | 2005 |
|
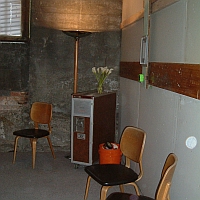
This is about the time for the second progress party. I've added 5/8" sheetrock over the OSB on the walls, and a raised mid-wall band. The band delineates the lower and upper space, provides a cable-run space around the room, and provides a structural attach point for later installations. | 2005 |
|
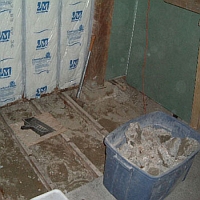
The floor was sealed by loose-poured concrete over dirt with floating 2x4 joists. I removed the flooring and the concrete to expose the area under my intended bathroom. | 2005 |
|
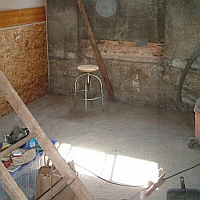
The walls are covered first with oriented-strand-board sheets to provide shear strength and puncture resistance. I watched the sun's rays through the window make a path across the space, and thought about how it might influence the design. | 2005 |
|
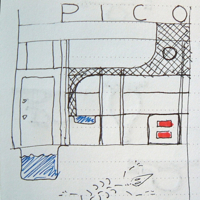
One of the few sketches that I made along the way. Here, visualizing the kitchen, wall to the bathroom, and bed and structure above. | 2005 |
|
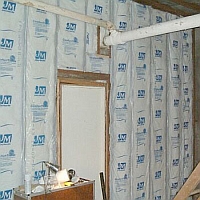
The walls and ceiling are thoroughly insulated with fiberglass (the part that Clifford didn't like). The pipes route steam to radiators throughout the building, and serve as the heat radiator for my unit. | 2005 |
|
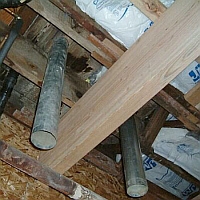
The large glue-lam beam serves to repair damage to the ceiling above that was done when retrofit water supply and drain plumbing was done at some time in the past. The beam installation was designed by a licensed city engineer. Preliminary vent ducts are in place to connect bathroom and kitchen fans to the air shaft with ducting to the roof of the building. | 2005 |
|
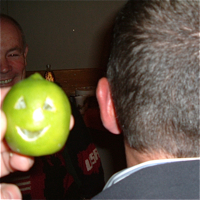
A lime friend at pico party with Graham and David, VIPs. | 2004 |
|
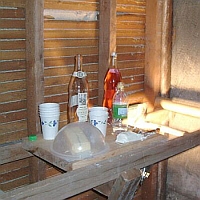
I held the first progress party, and solicited ideas from friends over drinks and snacks. | 2004 |
|
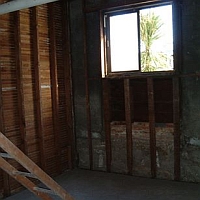
When the raw space was cleared of all the debris, it had good chi. The steam pipe which passes through at about eight feet above the floor is just visible. | 2004 |
|
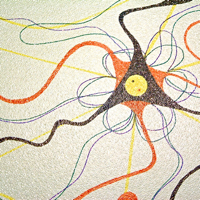
An exercise from Farouk's "Notating Imagination" course, to drive to the deepest meaning of the project. (Perhaps you'd have to be there for this to make sense). | 2004 |
|
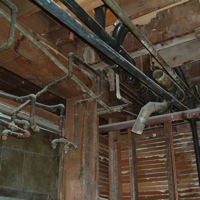
Drain pipes for the unit above, natural gas pipes, and abandoned pipes from old plumbing work. | 2004 |
|
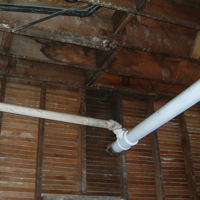
The overhead steam pipe which supplies steam to the radiators in the apartments above. This pipe is my heat radiator. | 2004 |
|
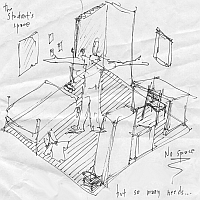
This is an anonymous sketch that Clifford found crumpled up on the UW campus. I added it to my project scraps collection. "The student's space" "No space - but so many needs..." | 2004 |
|
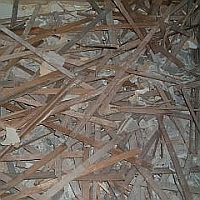
I stripped all of the wall and ceiling coverings off, and pulled thousands of small nails out of the structural wall and ceiling boards. And Susan. | 2004 |

|
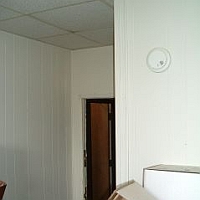
Another view of the 'before' condition. The drop ceiling is just below the top of the window, 8 feet off of the floor. | 2004 |
|
This is what the interior looked like when I acquired the space. It was being used as a store-room for an accountant. There were three ceilings - the visible drop ceiling, a framed and gypsum-board ceiling a foot higher, and a lath and plaster ceiling on the joists above. The walls were lath and plaster, then covered with paneling. | 2004 |
|
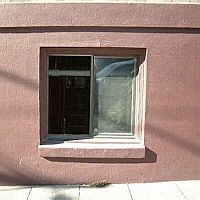
There is one 4' x 4' window that is about six feet above the floor inside, and about a foot above the sidewalk outside. This is the natural light source, the fresh air source, and the emergency egress path. | 2004 |

|
The build started at the end of 2003, and continues in 2014. Running up this page is a pictorial journey through time, showing an outline of the build progression. | 2003 |
